If you’re a beginner to using a Mac, you might be confused about how to turn on the camera. It doesn’t seem obvious at first, but it’s very simple.
The camera turns on as soon as you open an app that uses a camera such as FaceTime, Zoom, or Photo Booth, and a green light will be next to the lens to indicate that it is indeed on. The camera (and again, the green light) both turn off when you close or exit all apps or features that were using the camera.
If the app that requires a camera is open but the camera still isn’t working, there are several things you need to check further.
Why Won’t My Mac Camera Turns On
There are a few reasons why your Mac camera won’t turn on.
The first thing you need to check is that you only have one app open that requires the use of the camera. If there’s more than one app open and they’re both trying to use the camera, only one will likely have access while the other apps won’t work. So close any programs that might be trying to use your camera except for the one you want to use.
If this doesn’t work, try restarting your computer and then opening up an app that uses the camera. This usually fixes the problem if you’re unsure as to why your camera isn’t turning on in the first place.
However, if the restart doesn’t work, you might need to update your operating system or the photo/video app you’re trying to use.
Screen Time Limit May Block Access to Your Camera
If you’re trying to use an app that requires the camera but it’s not working, it could be because of the Screen Time limit.
Screen Time is a feature on Mac computers (as well as iPhones and iPads) that allows you to set time limits for certain apps or websites. So, if you’ve set a time limit for an app that uses your camera, the camera will stop working once that time limit is up.
To check if this is the case, follow these steps:
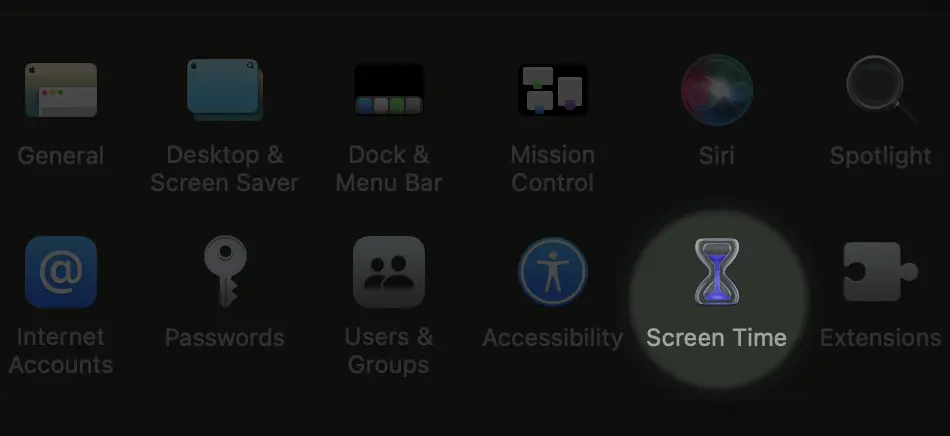
1. Open System Preferences, then click Screen Time.

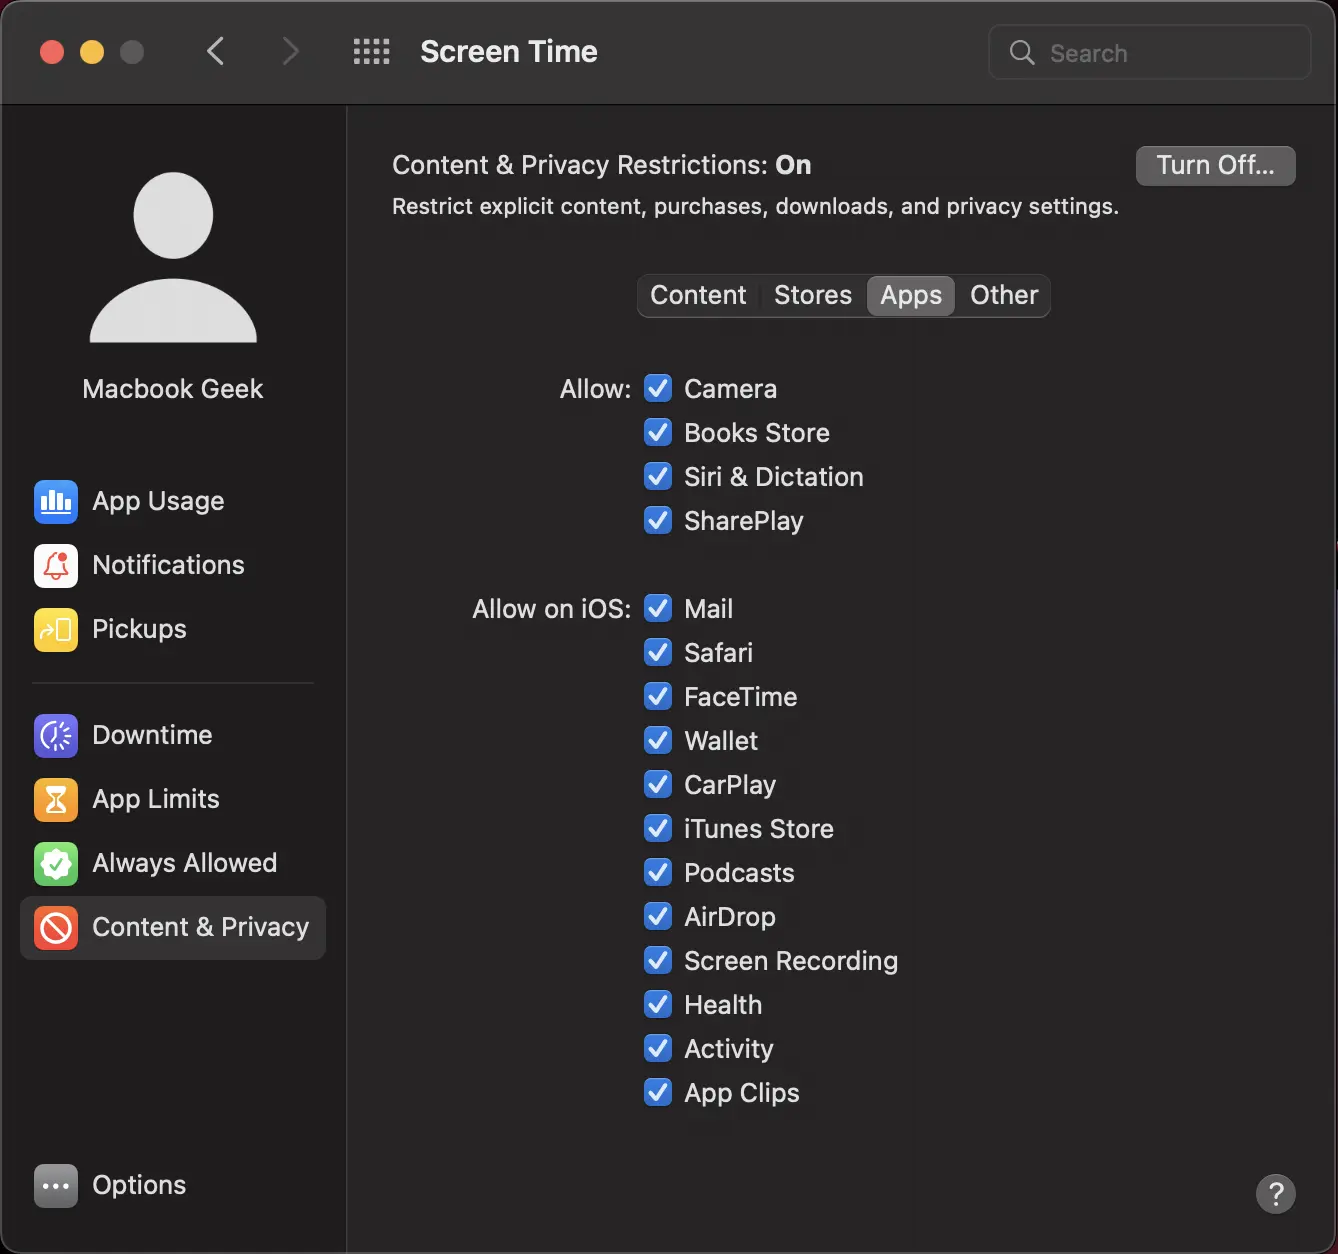
2. Choose Content & Privacy in the sidebar, then click Apps. Make sure the checkbox for Camera is selected
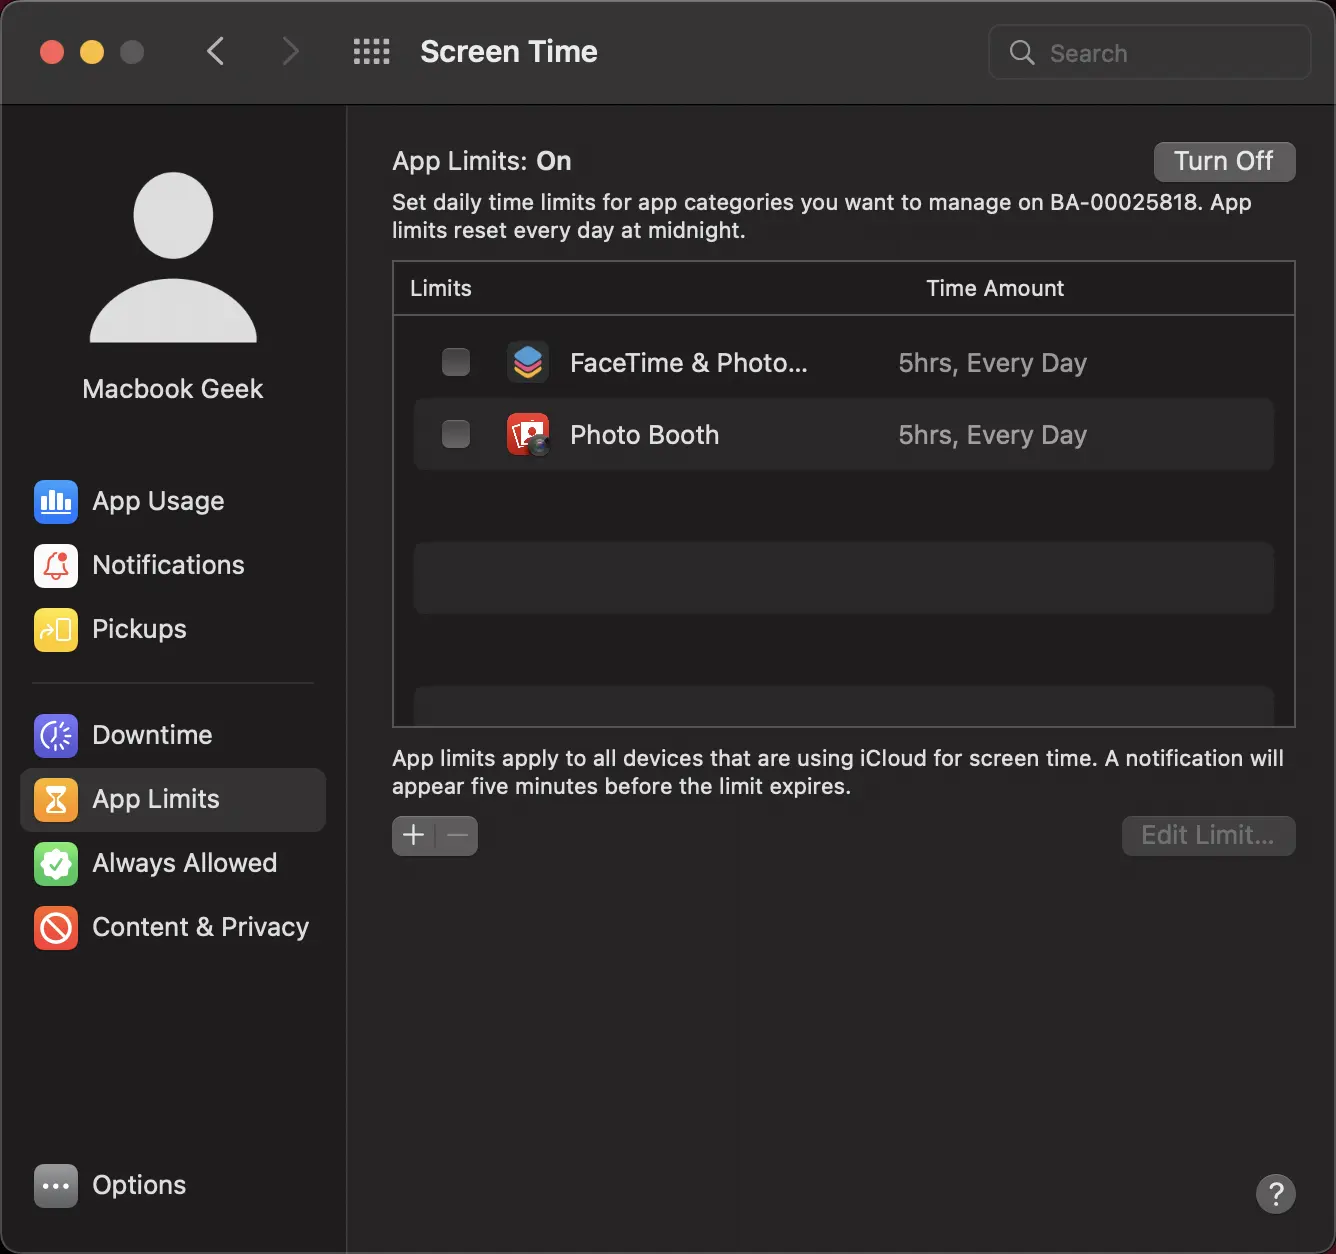
3. Choose App Limits in the sidebar. Ensure that the checkbox for Limits is not selected if you need to use your camera with an app from the list.
Be Aware of Camera Privacy Settings!
While the camera is a handy tool, it’s important to be aware of the privacy implications of using it. By default, all apps that try to use your camera will prompt you for permission before being able to do so. If you accidentally hit “Allow” when an app asks to use your camera, it will permanently have access to use your camera. To fix this, you can change your Mac’s camera privacy settings to only allow apps that you trust to access the camera. This will help to ensure that your privacy is respected and that no random app can start recording you without your consent.
To configure this, follow these steps:
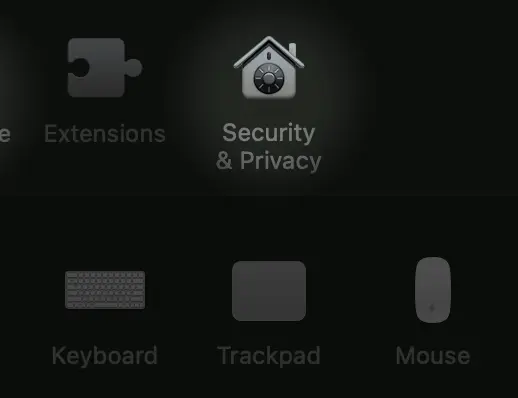
1. Open System Preferences, then click Security & Privacy.
2. Click the Privacy tab, then click Camera in the sidebar.
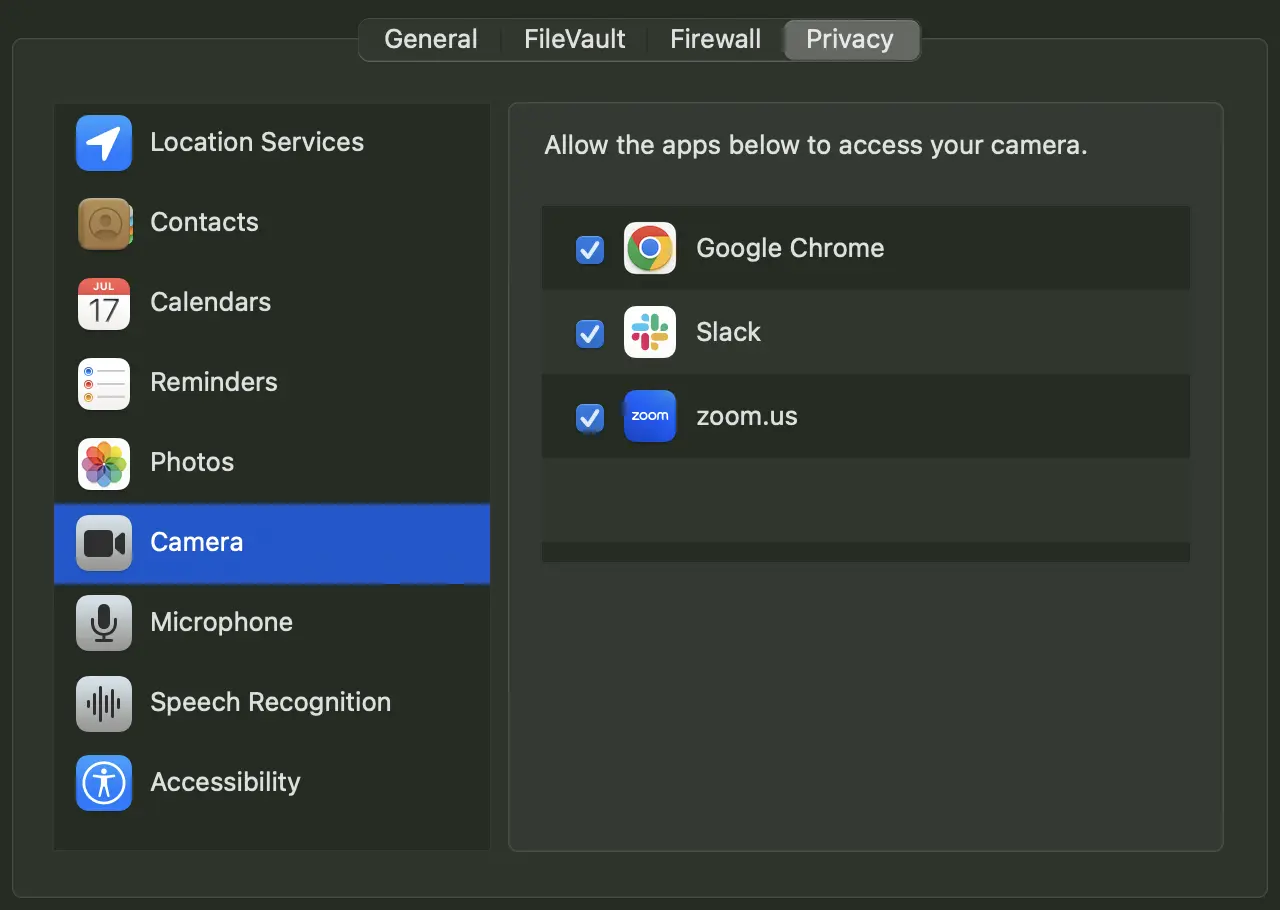
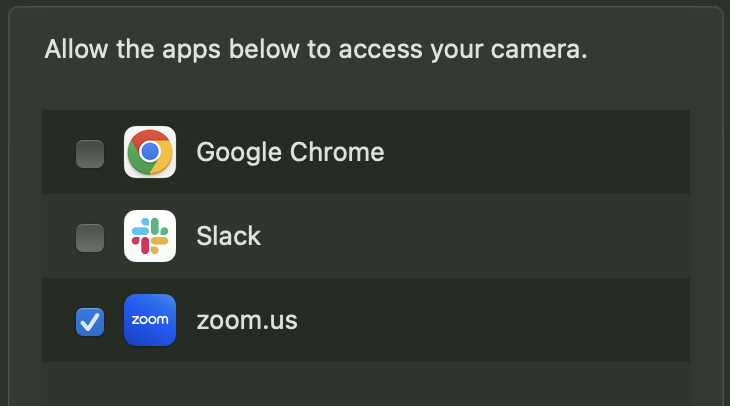
3. Make sure you only granted permission for the apps you trust to access your camera.
Conclusion
In conclusion, you need to open an app that require camera in order for the Mac camera to turn on. Green light beside the lens is indicating that it is indeed on, If Mac camera does not turn on, check to make sure that there is only one app trying to use the camera and restart your computer. If Mac camera still does not turn on, try to update your operating system or the photo/video app you’re trying to use. If Mac camera is still not working, check to see if the Screen Time limit is blocking access to your camera. Finally, be aware of camera privacy settings to keep your privacy respected.
After knowing how to turn on Mac Camera, it’s also good for you to know 6 Simple Steps to Improve Your Mac Camera Quality.